Hugoを使ってSSGサイトを作ろう
はじめに
このブログも記事が増えてきて、300円ちょっとで運営できていたのが月500円ぐらいの運用費がかかるようになってきました。 広告収入で運営費は賄っていたのですが最近赤字気味ですので、運用コストを落として行きたいところです。
そこで早いと言われているStatuc Site Generator Hugoを使っていきます。
早速始めましょう。
Install
choco install hugo -confirm
Chocolatey v1.1.0
Chocolatey detected you are not running from an elevated command shell
 (cmd/powershell).

 You may experience errors - many functions/packages
 require admin rights. Only advanced users should run choco w/out an
 elevated shell. When you open the command shell, you should ensure
 that you do so with "Run as Administrator" selected. If you are
 attempting to use Chocolatey in a non-administrator setting, you
 must select a different location other than the default install
 location. See
 https://docs.chocolatey.org/en-us/choco/setup#non-administrative-install
 for details.

For the question below, you have 20 seconds to make a selection.

 Do you want to continue?([Y]es/[N]o): y

Installing the following packages:
hugo
By installing, you accept licenses for the packages.
Progress: Downloading hugo 0.101.0... 100%

hugo v0.101.0 [Approved]
hugo package files install completed. Performing other installation steps.
Downloading hugo 64 bit
  from 'https://github.com/gohugoio/hugo/releases/download/v0.101.0/hugo_0.101.0_Windows-64bit.zip'
Progress: 100% - Completed download of C:\Users\kenpo\AppData\Local\Temp\chocolatey\hugo\0.101.0\hugo_0.101.0_Windows-64bit.zip (15.91 MB).
Download of hugo_0.101.0_Windows-64bit.zip (15.91 MB) completed.
Hashes match.
Extracting C:\Users\kenpo\AppData\Local\Temp\chocolatey\hugo\0.101.0\hugo_0.101.0_Windows-64bit.zip to C:\ProgramData\chocolatey\lib\hugo\tools...
C:\ProgramData\chocolatey\lib\hugo\tools
 ShimGen has successfully created a shim for hugo.exe
 The install of hugo was successful.
  Software installed to 'C:\ProgramData\chocolatey\lib\hugo\tools'

Chocolatey installed 1/1 packages.
サイト作成
hugo new site quickstart
Congratulations! Your new Hugo site is created in C:\Users\kenpo\quickstart.

Just a few more steps and you're ready to go:

1. Download a theme into the same-named folder.
   Choose a theme from https://themes.gohugo.io/ or
   create your own with the "hugo new theme <THEMENAME>" command.
2. Perhaps you want to add some content. You can add single files
   with "hugo new <SECTIONNAME>\<FILENAME>.<FORMAT>".
3. Start the built-in live server via "hugo server".

Visit https://gohugo.io/ for quickstart guide and full documentation.
テーマ
今回はこのテーマを使います。 中華フォントが使えるんだから日本語も多分使えるだろうという判断です。
cd kokorodev
git init
git submodule add https://github.com/AmazingRise/hugo-theme-diary.git themes/diary
git submodule update --remote --merge
hugo new theme dialy
echo theme = "dialy" >> config.toml
config.tomlはこのようになりました。
baseURL = 'http://example.org/'
languageCode = 'en-us'
title = 'My New Hugo Site'
theme = "diary"
記事の追加
記事の作成にはこのコマンドを使用します。
hugo new posts/my-first-post.md
実行されるとこのような表示がされて、ファイルが作られたことが確認できます。
Content "D:\\src\\Hugo\\kokorodev\\content\\posts\\my-first-post.md" created
content/posts/my-first-post.mdというファイルが作成されますので、 そのファイルの中身を適当に書き換えます。
タイトルとタグのみが記載されているため、下記のようにしました。
## はじめに
適当な文字書きを始めました。どうも。
記事は今後いい感じにしていきましょう。
Hugoの実行
hugo server -D
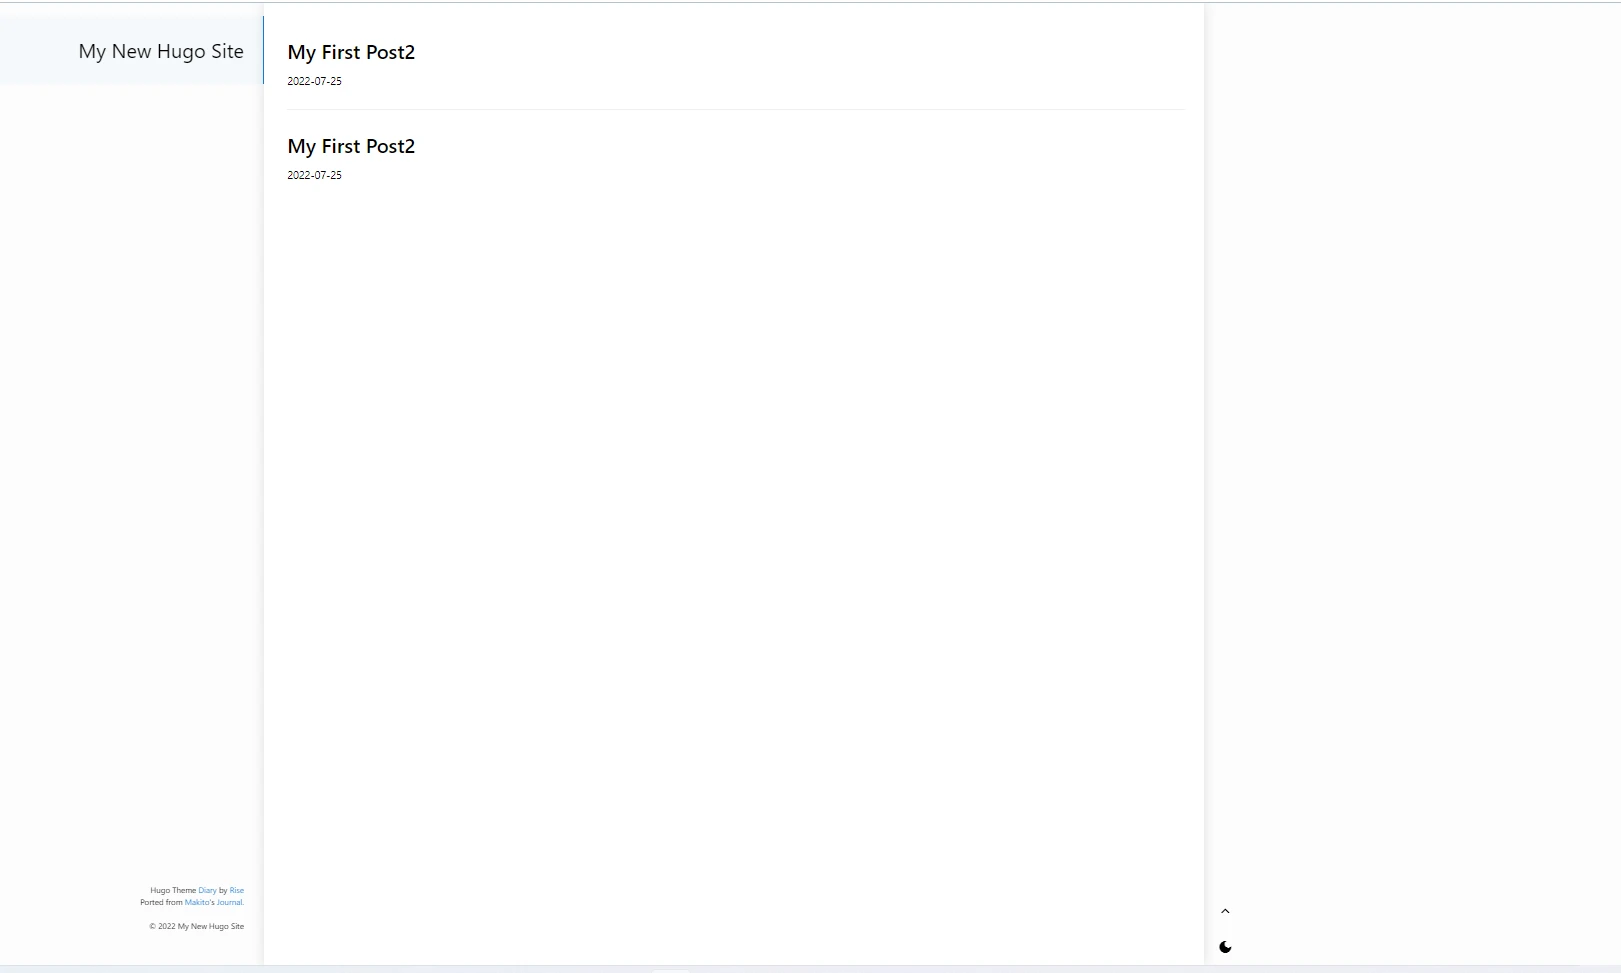
実行するとブログが立ち上がります。
port 1313 already in use, attempting to use an available port
Start building sites …
hugo v0.101.0-466fa43c16709b4483689930a4f9ac8add5c9f66 windows/amd64 BuildDate=2022-06-16T07:09:16Z VendorInfo=gohugoio

                   | EN
-------------------+-----
  Pages            | 10
  Paginator pages  |  0
  Non-page files   |  0
  Static files     | 12
  Processed images |  0
  Aliases          |  4
  Sitemaps         |  1
  Cleaned          |  0

Built in 17 ms
Watching for changes in D:\src\Hugo\kokorodev\{archetypes,content,data,layouts,static,themes}
Watching for config changes in D:\src\Hugo\kokorodev\config.toml
Environment: "development"
Serving pages from memory
Running in Fast Render Mode. For full rebuilds on change: hugo server --disableFastRender
Web Server is available at http://localhost:50376/ (bind address 127.0.0.1)
Press Ctrl+C to stop
実行すると http://localhost:XXXXX/というアドレスにアクセスしてねと表示が出ますのでブラウザから開くとブログっぽいものが表示されます。
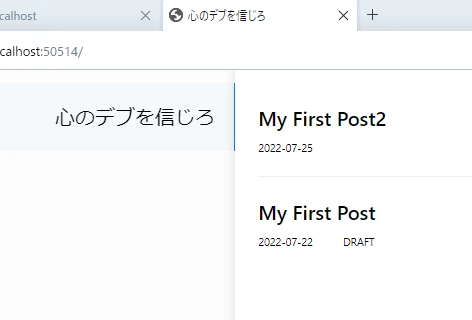
タイトルを変更する
config.tomlを編集します。 titleの中身を「心のデブを信じろ」に変更したらこうなります。
baseURL = 'http://example.org/'
languageCode = 'en-us'
title = '心のデブを信じろ'
theme = "diary"
別のテーマを試す
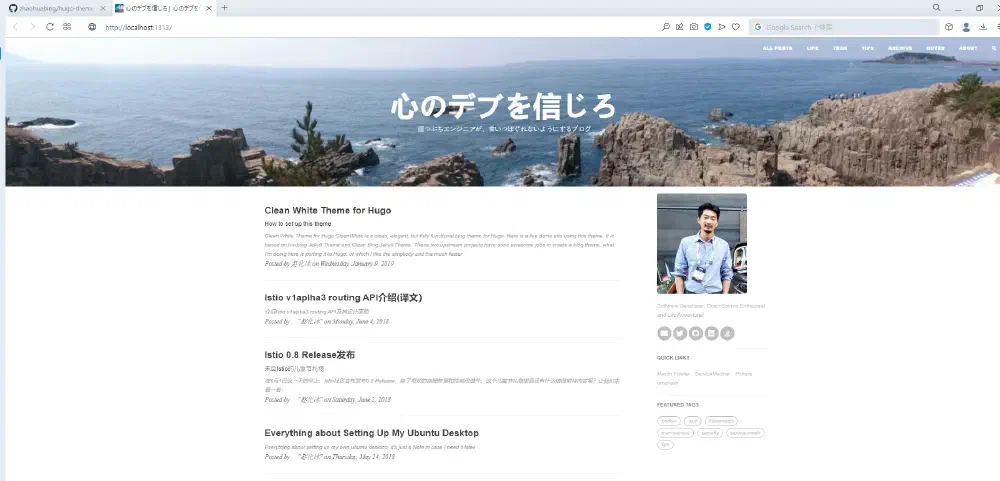
Wordpressで作っているようなUIに近いブログテーマがありましたのでこれをベースに作っていきます。
cd themes
git clone https://github.com/zhaohuabing/hugo-theme-cleanwhite.git
cp -r hugo-theme-cleanwhite/exampleSite/** ../
実行後は、config.tomlを修正していきます。 パラメータを設定していきます。
baseurl = "https://kenpos.dev"
title = "心のデブを信じろ"
theme = "hugo-theme-cleanwhite"
languageCode = "en-us"
# Enable comments by entering your Disqus shortname
disqusShortname = ""
googleAnalytics = ""
preserveTaxonomyNames = true
paginate = 12 #frontpage pagination
hasCJKLanguage = true

[outputs]
home = ["HTML", "RSS", "Algolia"]

[params]
  header_image = "https://pbs.twimg.com/profile_banners/151024776/1490343726/1500x500"
  SEOTitle = "心のデブを信じろ | 食いっぱぐれない Blog"
  description = "ITエンジニアが今日も元気にDevelop活動"
  keyword = ""
  slogan = "崖っぷちエンジニアが、食いっぱぐれないようにするブログ"
...
...
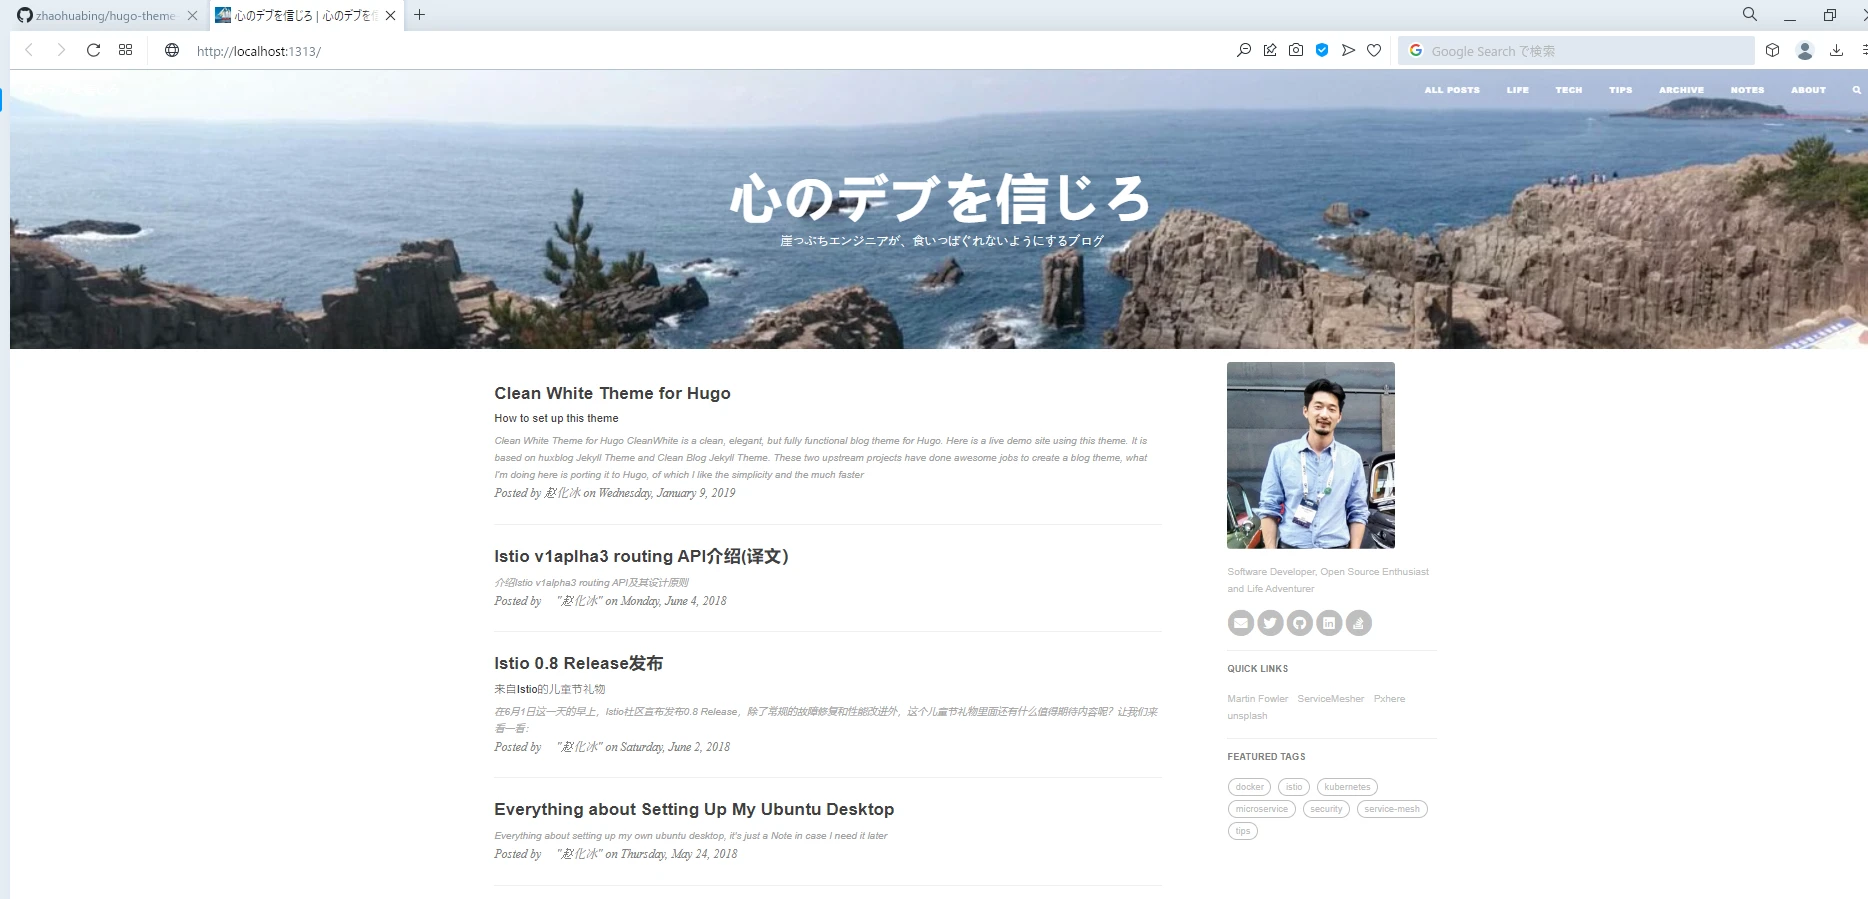
これをベースに修正すれば、かなり綺麗なブログができそうです。 ヘッダーの画像は、学生の頃に旅行でいった東尋坊の写真です。
まとめ
急に終わるやんとか言われそうですが、今日はここまで。 適当にいい感じにしたらGoogle Adsenceを追加する部分について記載しようと思います。